A big thanks to Michael Sweeney for his contribution here.
Michael is not only an outstanding photographer, webmaster, general fix everything, anytime AND an outstanding father, but he’s a good friend.
Says Michael: “My favorite styles of photography are artistic portraiture, wedding photography, and lifestyle photography. The common thread to each of these three styles is that all three will tell a story. As a writer and a photographer, I love to tell stories and I would love to tell your story with all the wonderment and art that we can make happen.“
You owe it to yourself to check out his site here!
Anyone who has been around photography for any length of time has heard the word gel. And if you have not heard of gels or gelling, you need to. But what does that word gel really mean to a photographer? What is a gel? What does a gel do? why do I care about gelling my lights? Can I gel a strobe? I shoot weddings, why do I need gels? I shoot portraits, I don’t need gels!
Why don’t we go over some details and I will show you the basics of gels and why they should be your new best friend in your photo kit.
What is a gel? In it’s simplest form, a gel is a piece of plastic material that covers up a light source to change the color or temperature of the light. There are many types of gel and different types of materials to make the gels. Some of them really are a gel like substance. The gels come in sheets, rolls and pre cut sizes. You can get gels to change the color temperature from 3200K to 5000K or to put it another way, change the light from incandescent to daylight. You can get gels that are for color accents like purple or red. You can get gels that are neutral density for reducing the output of a light source without disturbing the color of the light. You can get gels that just change color or are heat rated for using with high heat sources so they wont melt all over the light.
By and large, for most photographers, the sheet form of gels is what you will be using. It’s not often that a photographer needs to gel an entire room of overhead lights like a cinematographer would need to do on a film set. A good many photographers get by with purchasing a small sample kit of gels from companies like Lee or Rosco where the gel is just about the right size to use on a small strobe. I prefer to buy sheets myself and cut them down since I shoot with both small flashes, studio strobes and hot lights. In Figure 1, we see a typical gel kit from Rosco. This kit is a bit bigger than normal sample kits at 6×3 and is more useful because of it.
Figure 1 – Roscolux gel sample kit 6×3

Every photographer should have a basic set of gels with them as part of their “kit” to drag around. Some gels are just color like “red” or “purple” but others are calibrated in a setting called “Cuts” or strength. A gel that is a ¼ cut is ¼ less intensity than a half cut which is one half of of the intensity of a full cut of the same gel. I’ve listed a couple of the most common gels that everybody uses at one time or another.
Color Temperature Orange or what is better called “CTO” will change the daylight balanced strobe output to about 3200 degrees kelvin or to the red/orange of incandescent lighting. This gel is an orange in color and can also be listed as “Straw” or “amber”. I normally will use shoot with a 1/4 cut gel on my small flash units outside to warm up the bright white of the flash a touch. In Figure 2, you see what the basic color is of a CTO gel
Figure 2: CTO Gel

Color Temperature Blue or CTB. This gel goes the other way, it will take the orange incandescent light source and make it appear to be daylight. One typical use would be on a hot light mixed with strobes or you have continuous lighting mixed with daylight coming in through a window and you don’t want the blue window when you color correct for the hot light. In Figure 3 we see the basic color of a CTB gel.
Figure 3: CTB Gel

And finally there is Rosco Plusgreen. Now you are asking why green? Because grasshopper, there is a special green that will color correct for some fluorescent light sources most of the time. I say some because fluorescent lights will color shift depending on shutter speed due to the line frequency of the electrical power. And some lights are “warm” white or “cool” white. And others, the vendors have attempted to adjust the chemicals but if you start with Plusgreen, you will be close. And for an added treat, if you want to take your twilight images up a notch outside, you can gel your flash with the green gel, set the white balance to fluorescent and then get a very dramatic sky in your twilight shots. This combo will amp up the magenta in the sky but since the flash and the camera are both color balanced to each other, the subject will appear normally colored. In Figure 4 we see the basic green of the Plusgreen gel.
Figure 4: Plusgreen Gel

Gels are pretty durable and can take a fair amount of abuse before they tear. You can fasten them using everything from gaffers tape ( you do carry some right?) to rubber bands to C47 clips (wooden clothes pins). Some times the flash manufacturer has included a basic set that will slip in front of the flash tube.
When do you want to use a gel? When ever you have a mix light condition and you want the light to look uniform. For example, you are shooting in a church and the lights are the typical dim orange looking lights. If you were to pop off your flash, you would get this sea of white stark looking imagery while the background would be orange, You can not really color correct for this without some work. It’s far easier to put a 1/4 or 1/2 cut CTO gel on the flash and then shoot away. The normally daylight flash will now be a hue of orange very close to what the ambient light in the church is. This means when you look at the image, it will all look like it’s lite the same way. It also means that sometimes you can get away with just fill light instead of having to light up the entire room to get the same color of light.
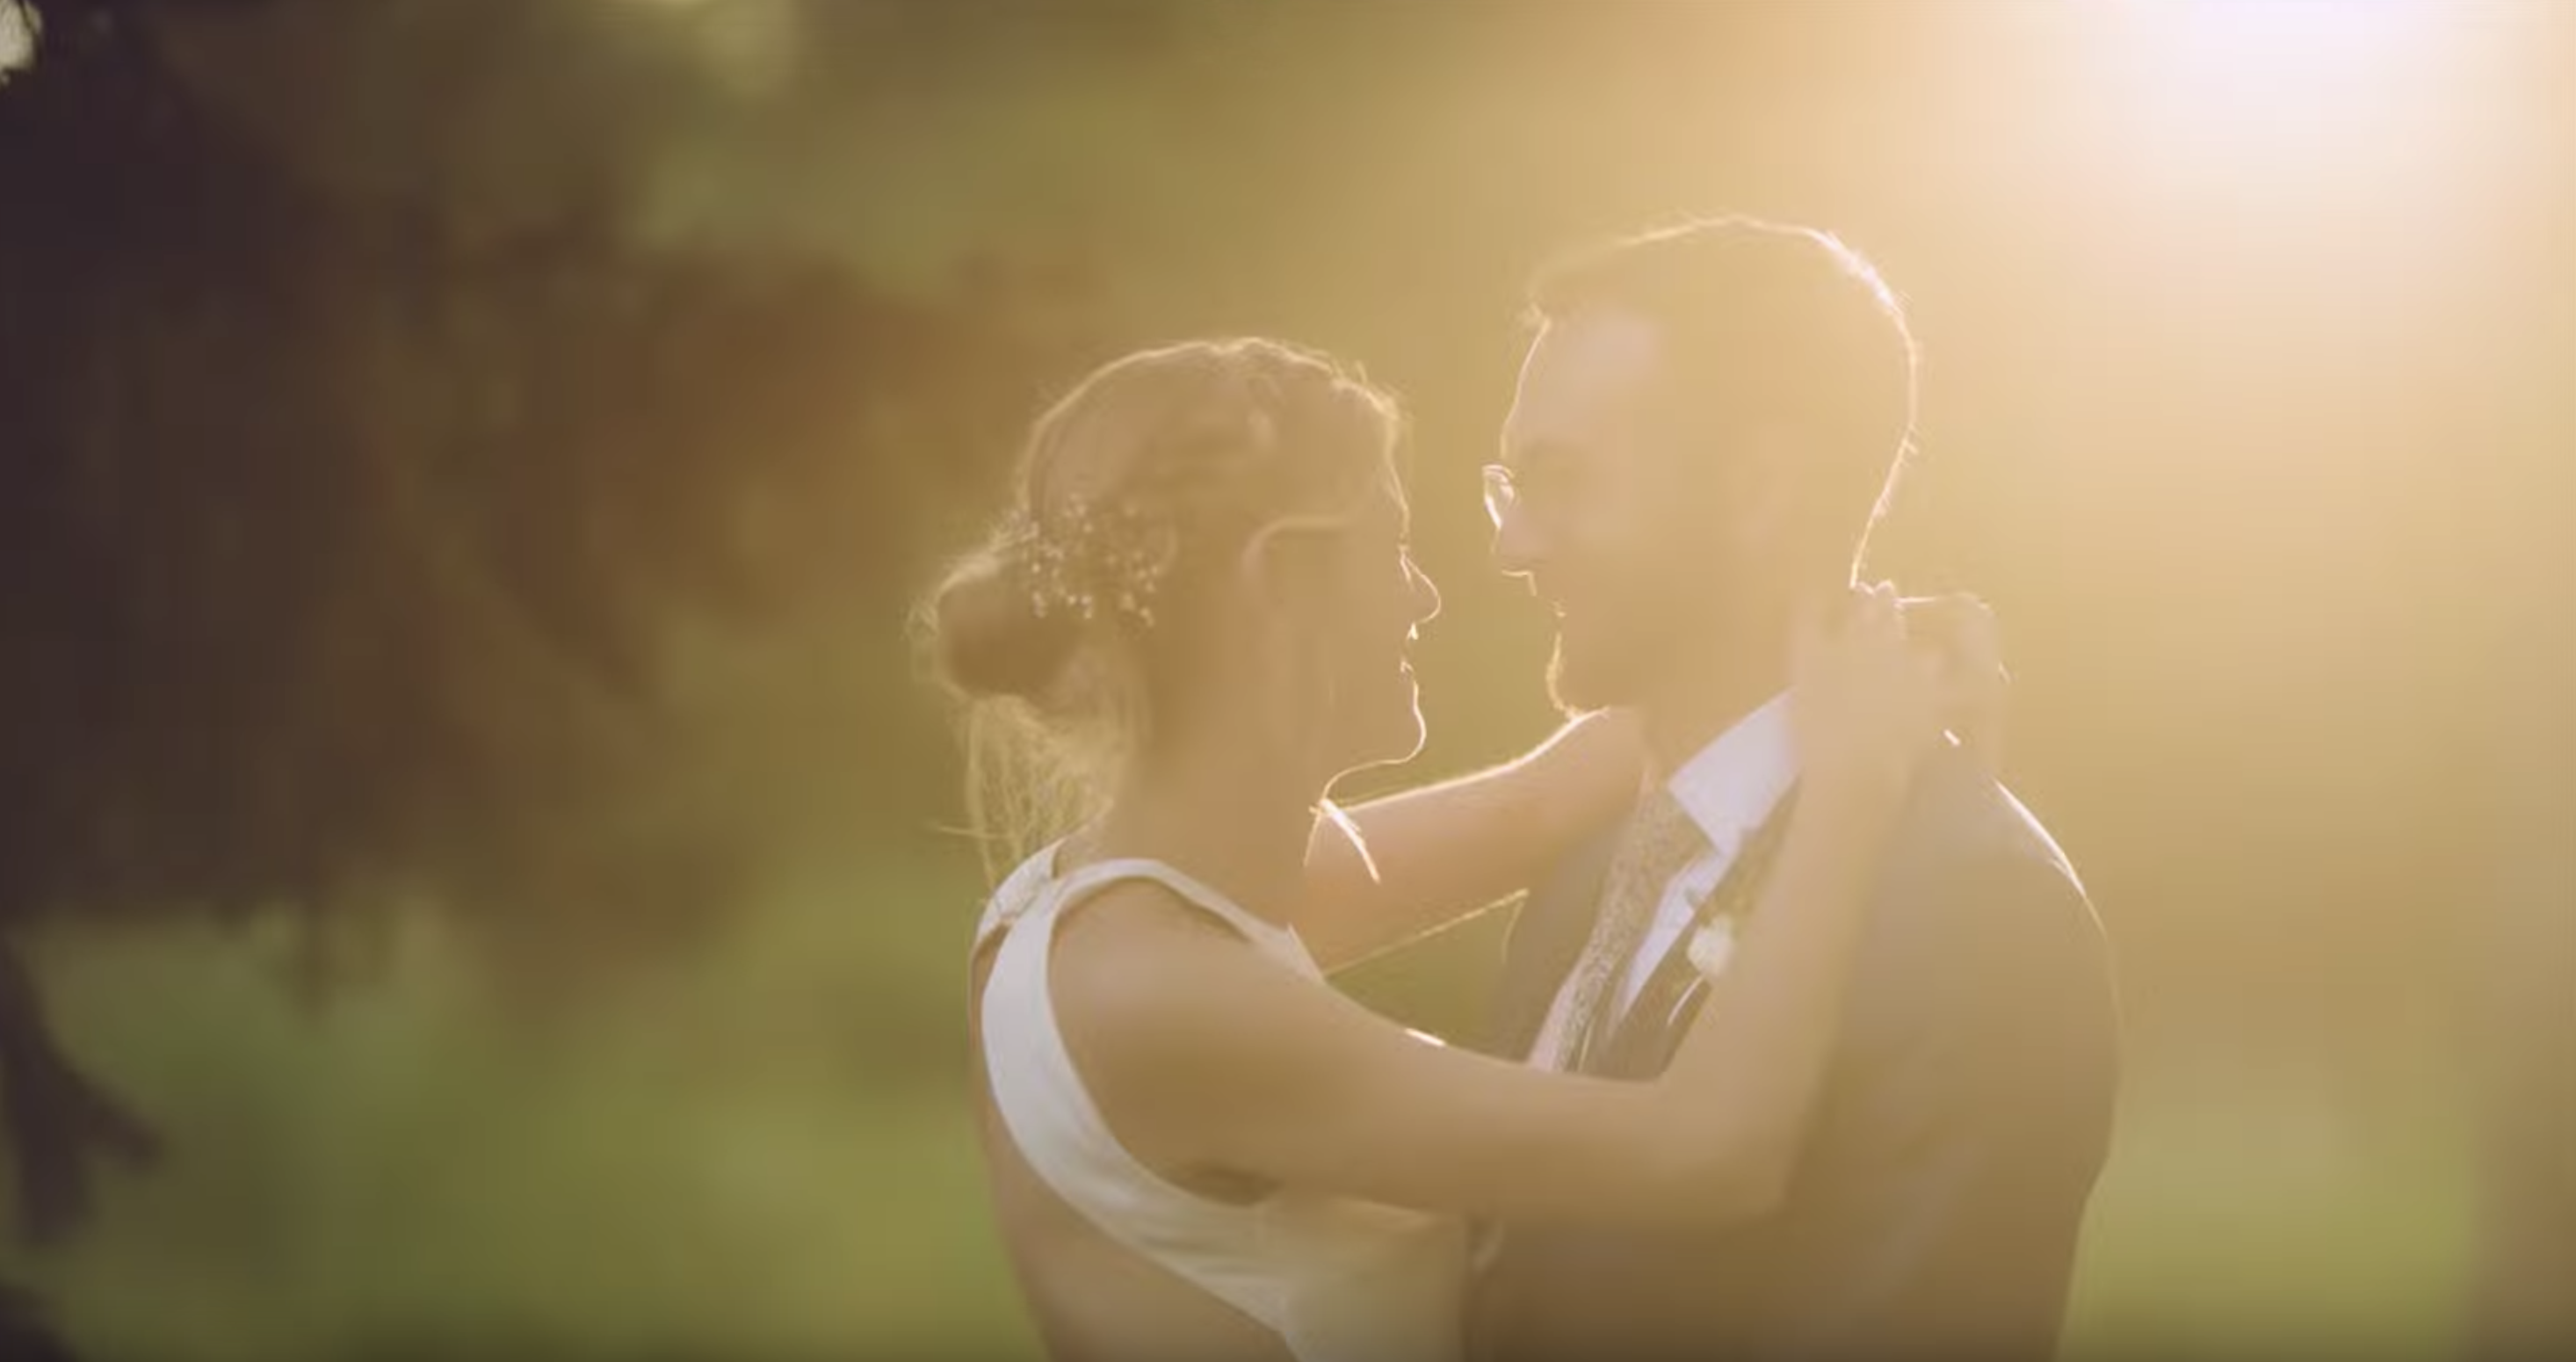
Another sample would be trying to shoot in a hotel or home with big windows but soft warm lighting. If you don’t color correct by using a gel, you will end up with a nice warm inside light and screaming blue outside. With the gel, you can tune and balance the inside and outside light. Another use of gelling your flash is shooting outside at the end of the day and you want to keep the atmopshere of the day but you need to pop some light onto the subject. Without the gel, you would have a nice background with stark white subjects since the background is around 3K degrees and the foreground subject with the daylight balanced flash would be about 5K degrees. Your solution would be put a 1/4 cut CTO gel to push down the flash color temp to around 4K degrees. Now the two light sources are pretty close in color with just enough difference to accent your subject. In figure 5 below, I did just this. I used a 1/4 cut CTO to drop my color temp to better match the orangish glow from the end of the day. If I had not done this, the bride and groom plus the white would have gone white and it would have been very apparent I used a flash. I perfer to be subtle with my flash, I want the light but not the blasted look.
Figure 5 : Mixing daylight with 1/4 cut CTO gel on SB800 flash

Now, nothing is truly free and with gels, you do not get color balance at zero cost. You give up stops of light when you slap a gel on the flash. A full cut CTO gel will cost you about 1 stop of light. A ½ cut CTO will be about ½ stop. The CTB are bit different, a full cut is about 1.5 stops of light and the ½ cut CTB is about 1 stop of light lost. The FL green gel will cost you about ½ stop of light. It’s pretty simple to work out once you know the loss. If you are shooting at ½ power and you put a full cut CTO gel on the flash, you will need to increase to full power to compensate for the 1 stop of loss that you incur with the full cut CTO gel.
Like it, Tweet it, Share it, Pin it, +1 it!


